How to get a GitOps cluster in 20 minutes with Civo - part 2
Create a production-ready Kubernetes management cluster with virtual and physical workload clusters on Civo using all the popular cloud native open source tools in only 20 minutes instead of weeks.

Welcome to the second part of this series on how to get a GitOps cluster in 20 minutes with Civo. The first article was about preparing for the magic to happen, and creating a production-ready management cluster with multi-cluster support. In this blog post, I’ll guide you toward some of the main pieces of your new Kubernetes platform, so you slowly get to know the features, benefits, and power of kubefirst. Without further ado, let’s jump right in the heart of the subject.
A guided tour of your new GitOps platform
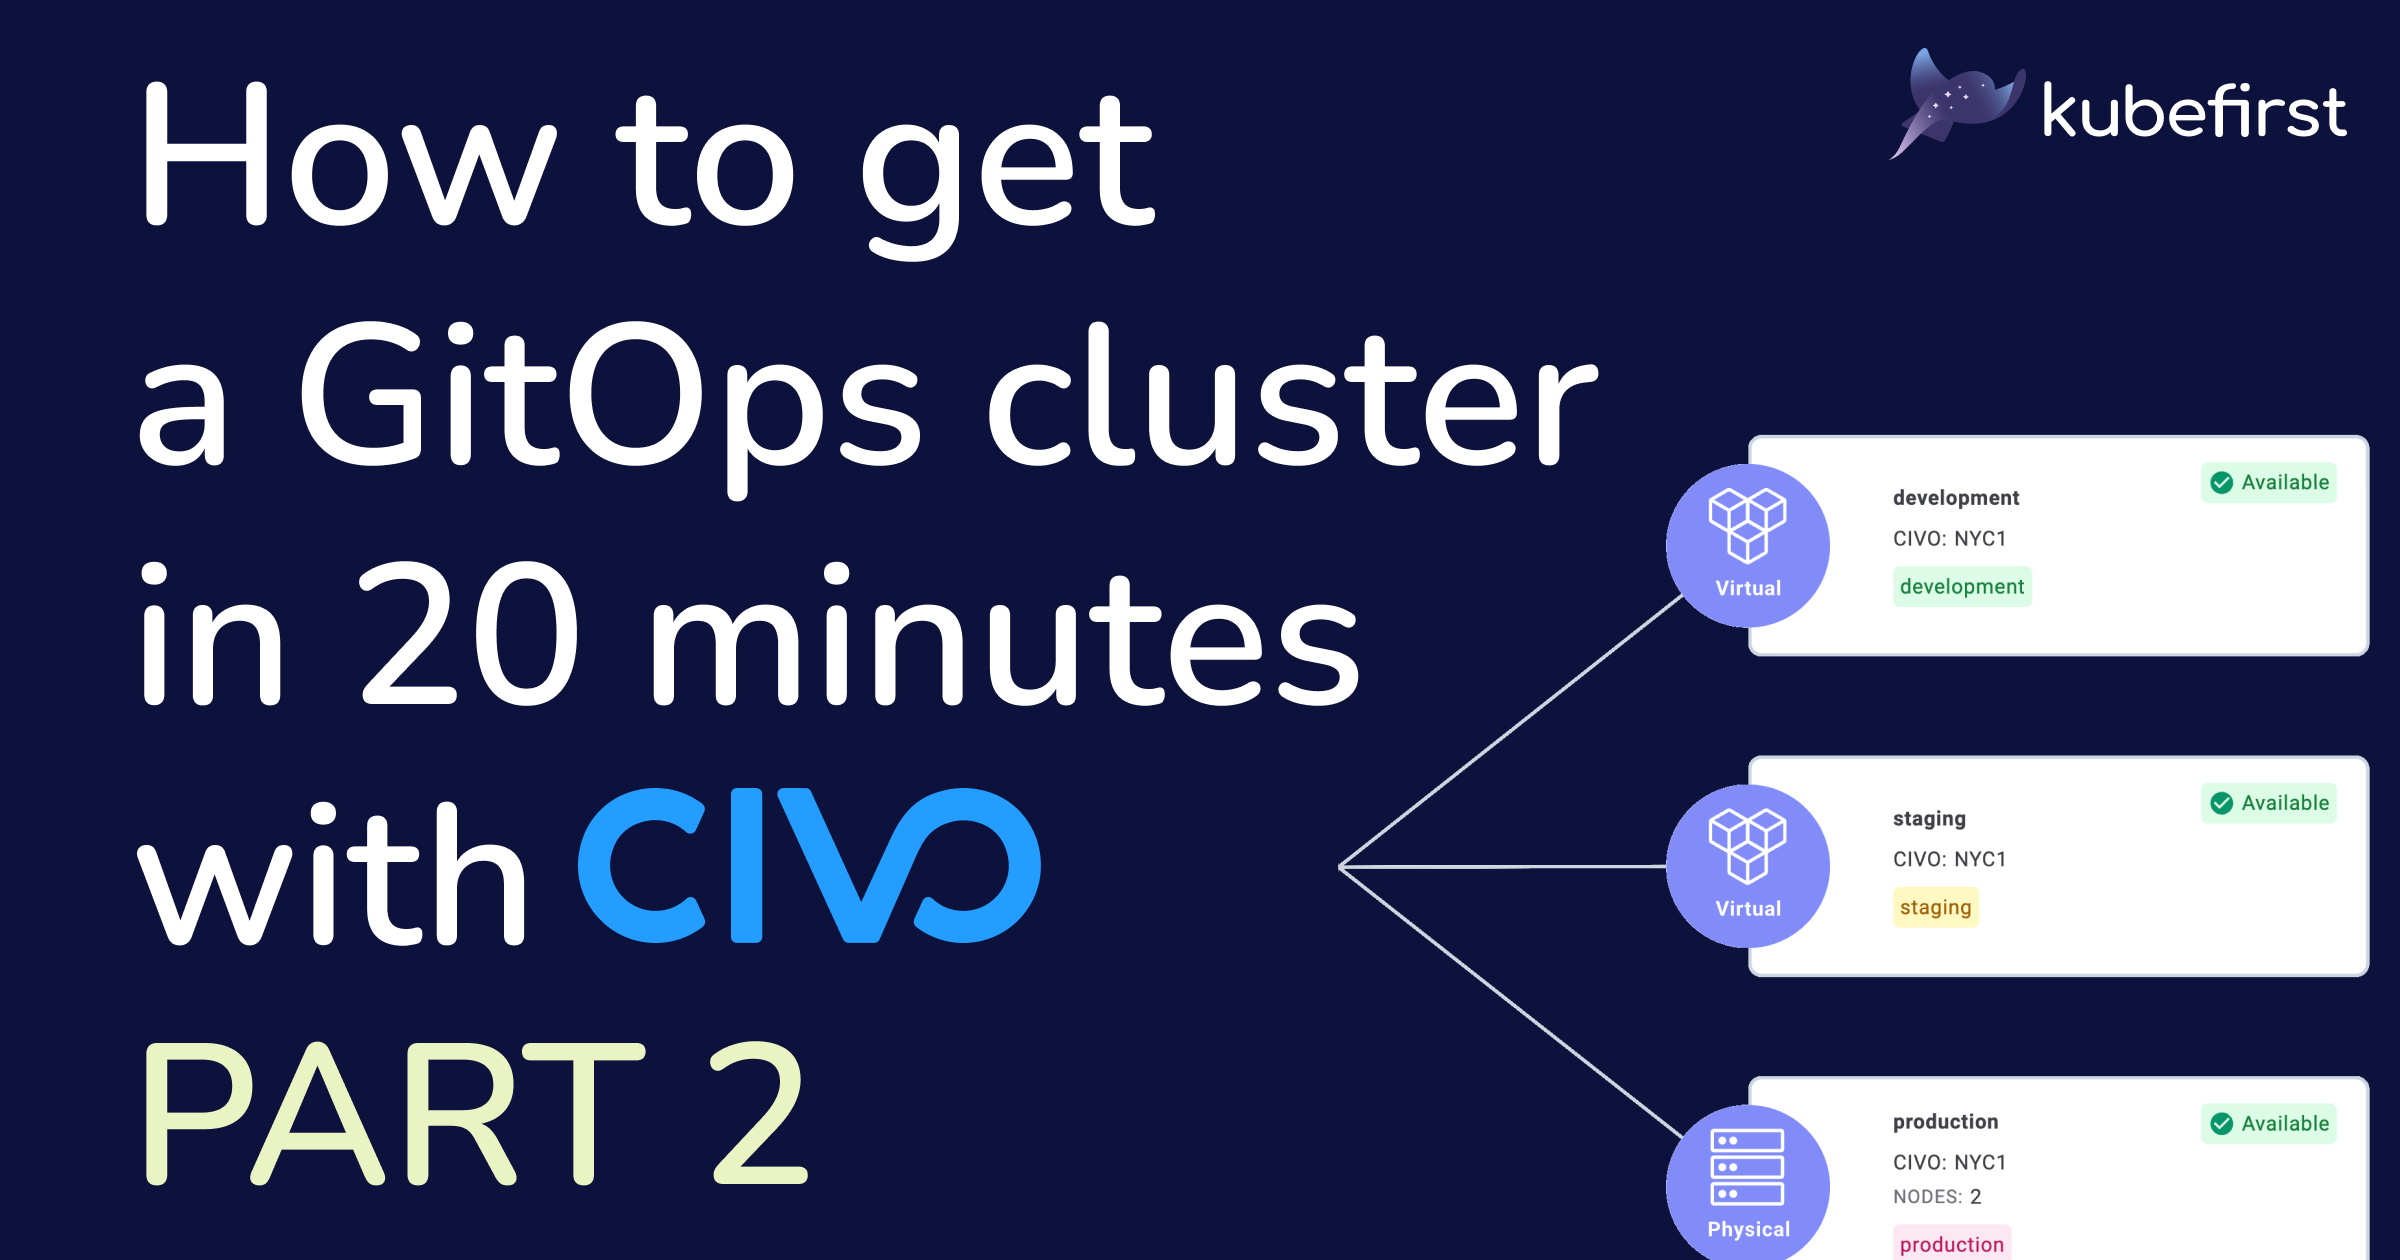
Congratulations, you now have successfully created a new Kubernetes management cluster using GitOps. By default, we created for you a physical cluster which is your management one, but also three virtual workload clusters each in their own environment, so you can test the platform right away. If you don’t want them, feel free to use the delete option.
More information about virtual clusters
If you like a more visual representation of your cluster, one of my preferred visuals for the cluster management feature is the graph view. You’ll see sensibly the same information as in the list view, but in a more sexy way.
The real power of kubefirst comes with the provisioned services we created, and configured for you. You can see and easily access those in the “Services” view of the console application. Here you can see the two newly created GitHub repositories we discussed earlier. We also installed for you HashiCorp Vault, Argo CD, Argo Workflows, Terraform & Atlantis, in addition to the Metaphor demo applications deployed in three environments also. We’ll come back to the “Gitops Catalog” tab from that screen in the third article of this series: the same goes for the “Environments” page from the sidebar, as they will be both used to customize your new clusters.
Argo CD
Now let’s check what I call the heart of your GitOps platform, Argo CD. Click on the link in the services page, which will bring you to the Argo CD login page. Remember from the first part of this series, we have SSO implemented by using HashiCorp Vault as OIDC, so you can click “Login via Vault” to connect to Argo CD. You would also be able to retrieve the admin token from a Kubernetes secret or Vault itself, and login in with it, but why make things complicated…
Argo CD being your GitOps CD engine, fully integrated with kubefirst and your new gitops repository, you can see everything installed, running, and hopefully healthy in this web interface. You can now have a full view of all the moving pieces needed to create your clusters with all the most popular cloud native tools. Feel free to closely examine your new platform, and even observe the sync cycle of Argo CD if you add or modify any applications directly in your gitops repository.
If you want to learn more about Argo CD as a powerful CD tool used in kubefirst, watch this livestream recording.
HashiCorp Vault
If you go back to the console app tab, and click on the Vault link, you’ll be brought to HashiCorp Vault, the OIDC provider, and secret management tool we are using. In this screen you can easily add secrets that will be accessible by all your applications.
If you want to learn more about how we are using HashiCorp Vault, check this livestream recording.
Metaphor
The last piece I want to highlight in this second article of the series is Metaphor, our demo application I barely mentioned in the first blog post. It’s a basic React application using some of the features of our platform so you can easily see live examples, and review the code to understand what we have done to, let’s say, access the secrets stored in Vault. More information is available in our documentation, but you can find the code in your newly created metaphor repository, or in the source in the gitops-template one.
For more information about Metaphor, and how to use it to learn more about kubefirst, check the recording of this livestream.
Next steps
This ends the second article of this three-part series. In the next article, we will see how you can customize the default Kubernetes management cluster we created for you by respecting the GitOps principles. In the meantime, feel free to customize by yourself your new production-ready Kubernetes platform. As always, we are welcoming constructive feedback, features ideas, and overall comment on your experience with our open-source platform. The best place to do that, or ask for help if you encounter any issues, is our Slack community, where you can join more than 300 other cloud native enthusiasts!

