Instant Kubernetes GitOps From the DigitalOcean Marketplace
Easily create a new production-ready Kubernetes GitOps management cluster on DigitalOcean directly from their Marketplace

Not long ago we announced that DigitalOcean was out of hibernation from its beta state, joining the kuberfirst’s officially supported clouds with Civo, AWS, and k3d. Since done, it gave us the opportunity to make kubefirst available in the DigitalOcean Marketplace also.
If you’re just joining us, kubefirst provides fully automated open source application delivery and infrastructure management GitOps platforms delivering the best cloud native tools with a single command.
DigitalOcean Marketplace
You can already create your Kubernetes cluster on DigitalOcean with the CLI or the UI installation, so what is the difference with the Marketplace you ask me? When using the Marketplace installation, you do not need to install our CLI, nor will you need local resources used by Docker and our installer to create your GitOps platform. It’s useful if you don’t have the necessary computer resources, don’t want to or can’t install third-party applications locally.
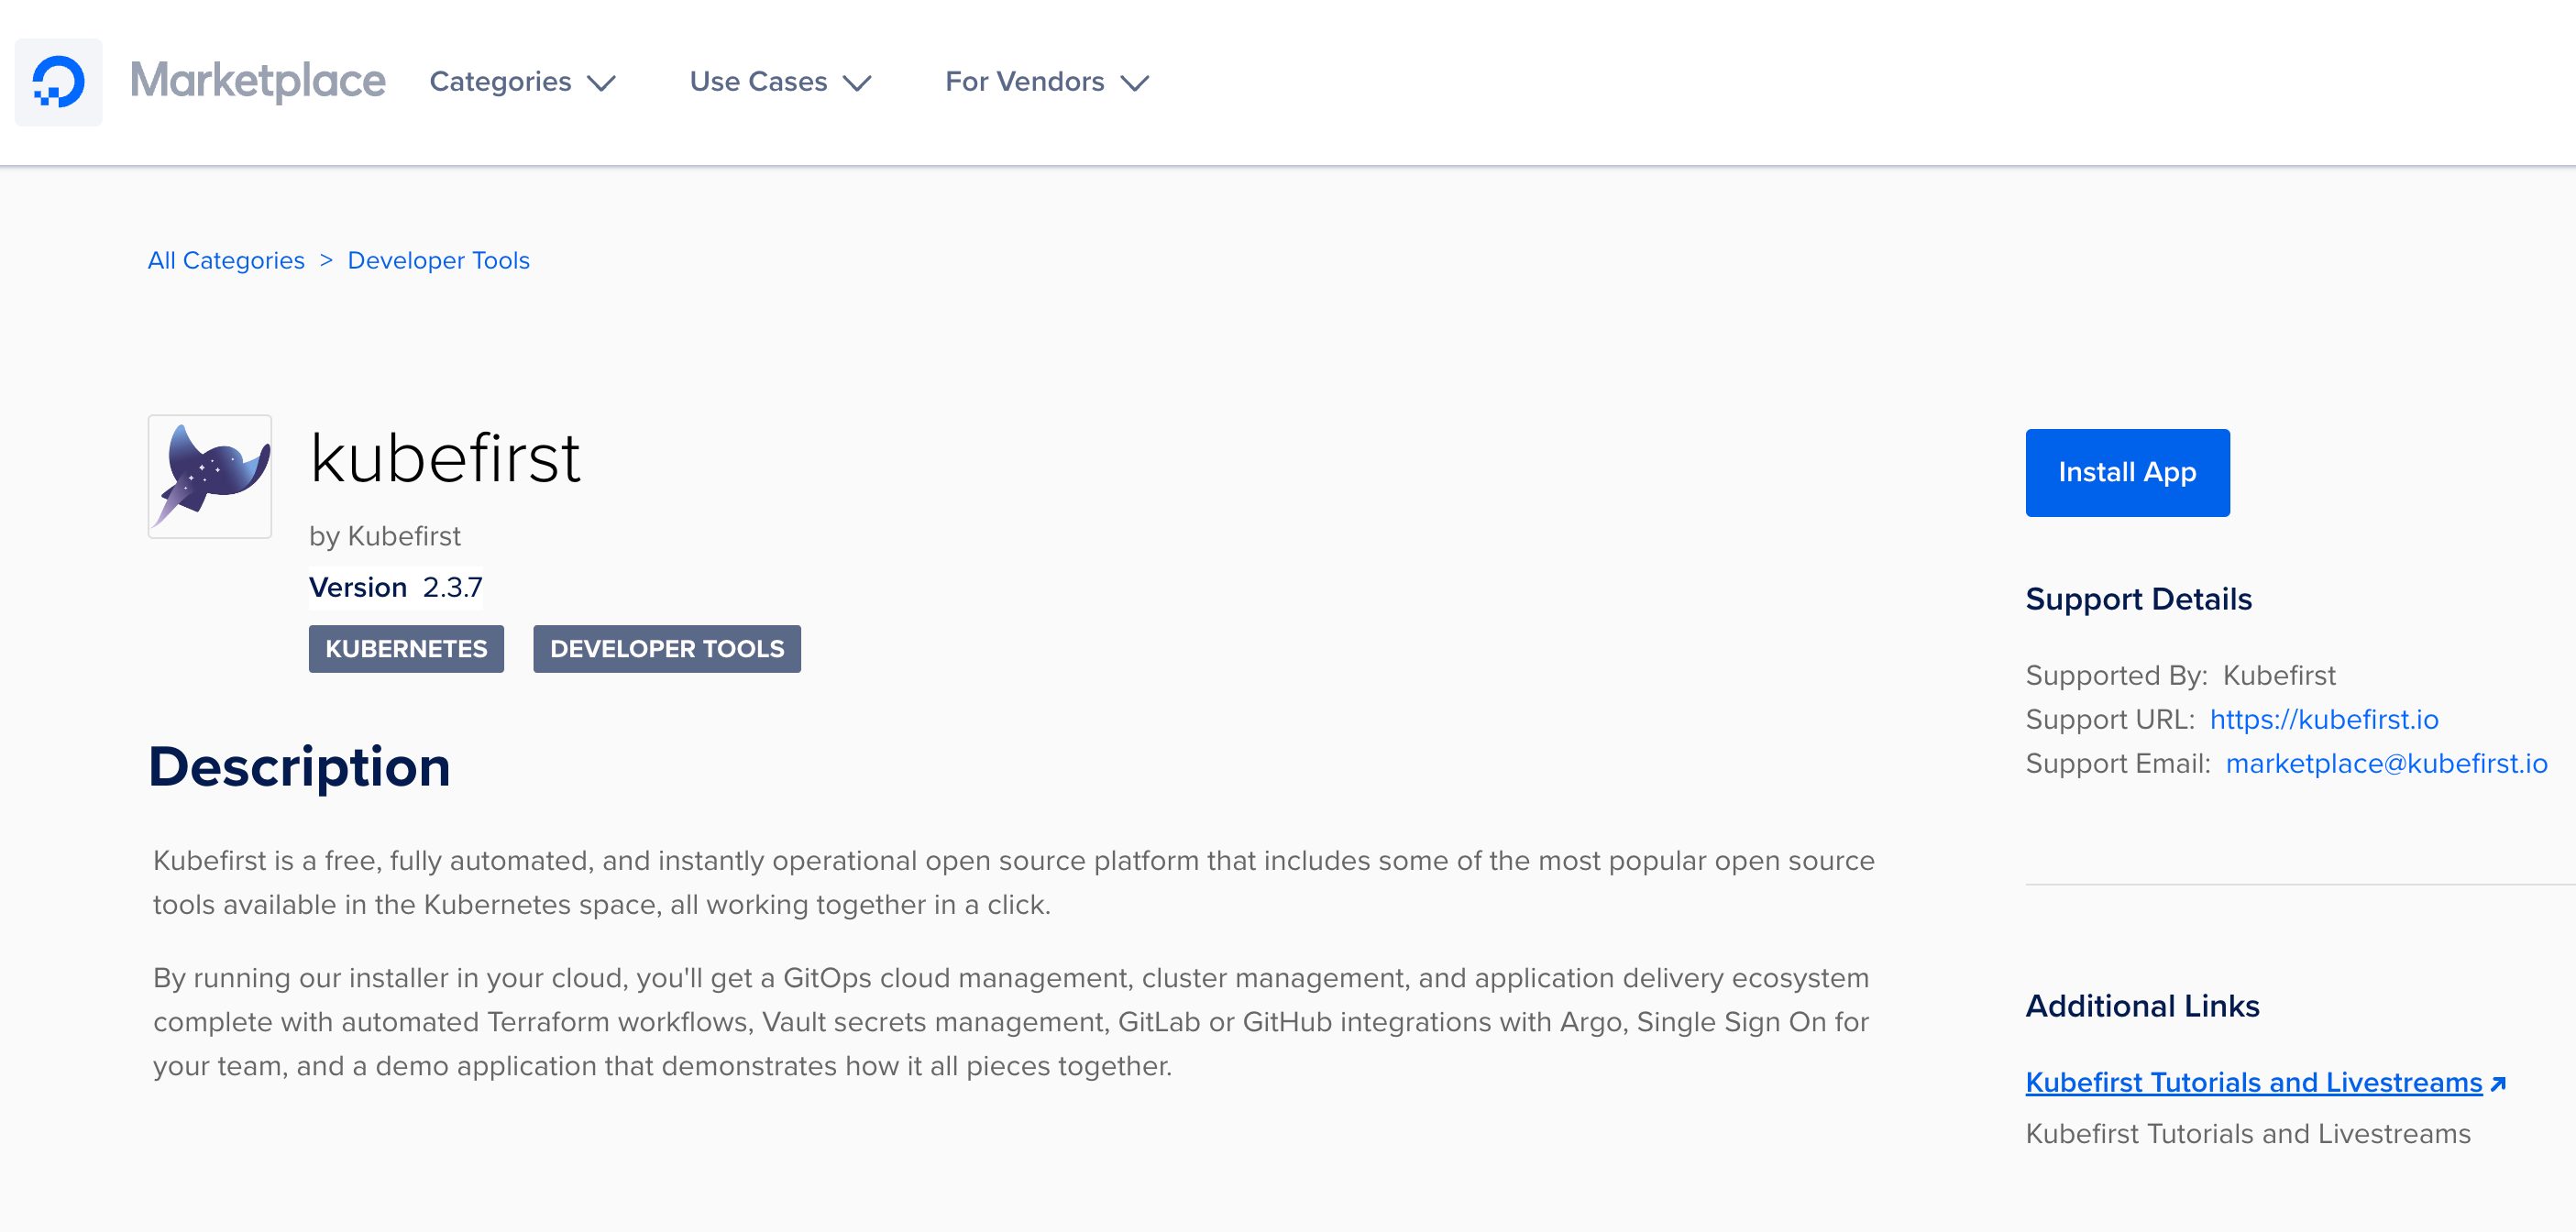
To start the installation process, click on the “Install App” from the DigitalOcean Marketplace kubefirst page. It will bring you to your DigitalOcean cloud dashboard on the new Kubernetes cluster creation page. You’ll be greeted with a popup where you can confirm you really want to install kubefirst, with some important information about the minimum requirement for the cluster that will be created. Keep in mind that those are for what we call cluster 0, which is the kubefirst installer application. It is the equivalent of locally doing a `kubefirst launch up` but directly in DigitalOcean. It is not the final cluster with all your preferred cloud native tools, hence why the resources needed are minimal. In fact, you’ll be able to delete this cluster once the creation is completed.

Click on “Install” button, and you’ll be able to interact with the “Create a Kubernetes cluster” page. As a DigitalOcean user, it is the same page as you are used to, except you’ll see at the top, the application that will be automatically installed for you, kubefirst.
You can now select the datacenter region desired, but it is not critical for this step. It is only where the kubefirst installer will be created: you’ll have the chance to select another region if desired when defining your kubefirst new cluster.

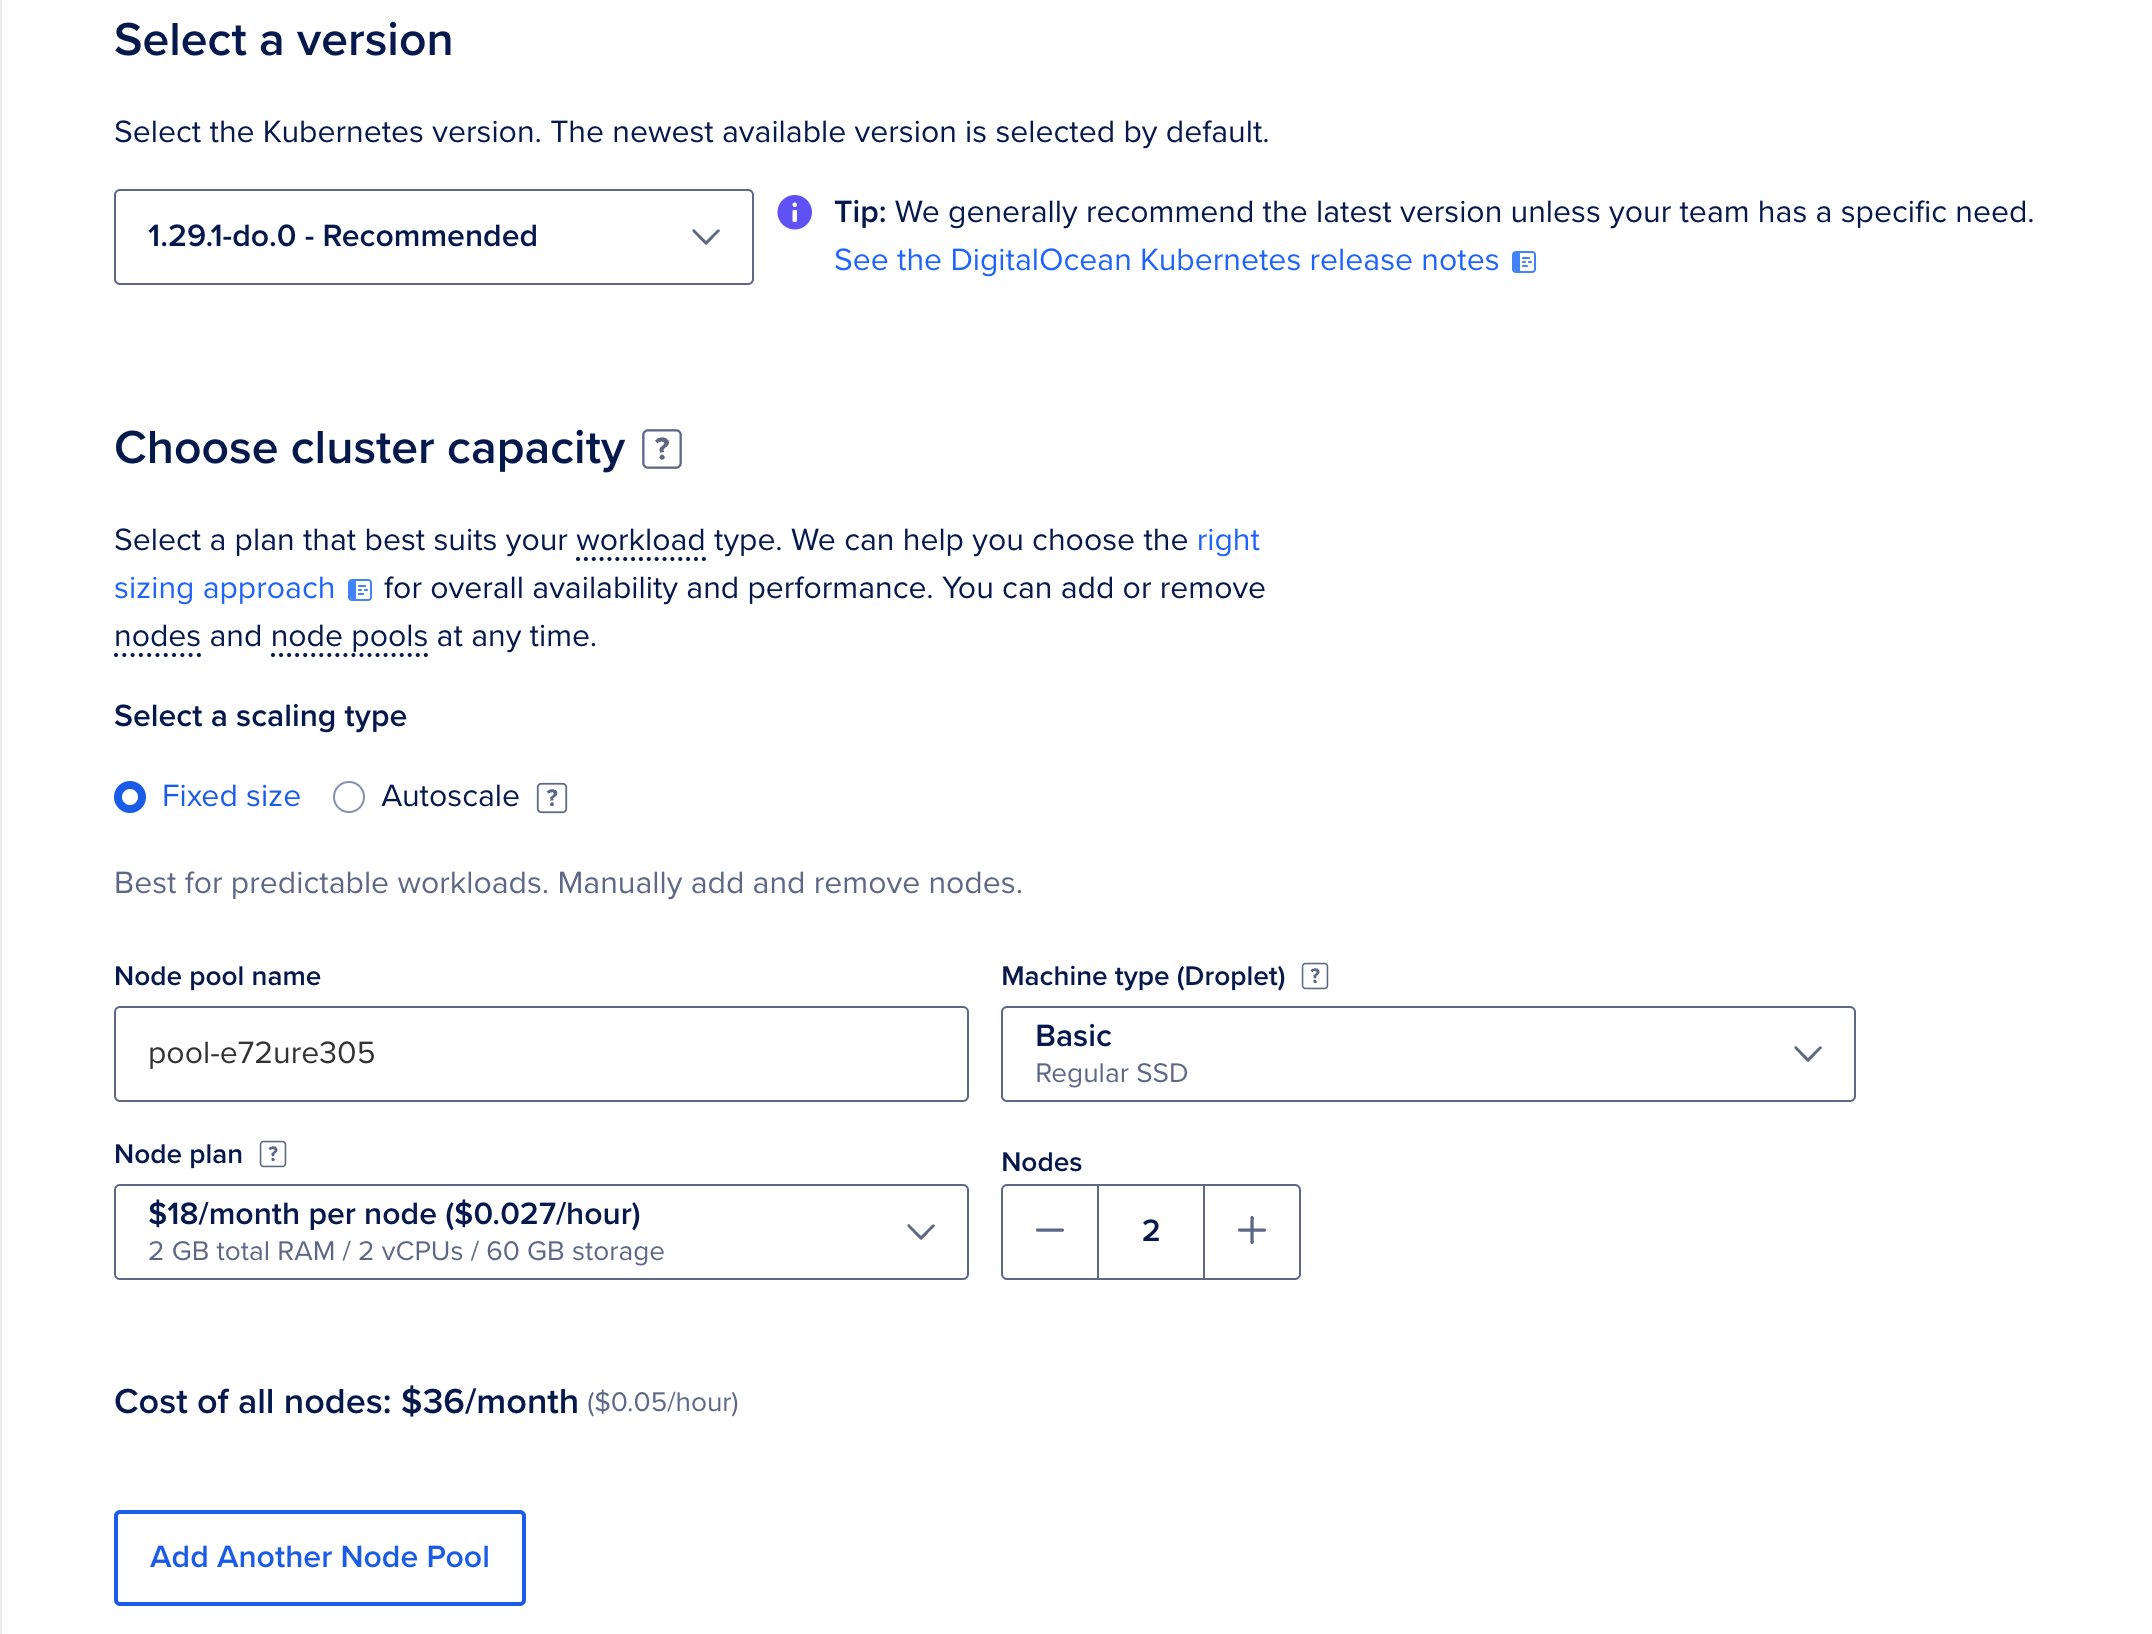
After it’s done, you can scroll down to the “Select a version” section. You can leave it to the default one, but we support all versions available on DigitalOcean for the installer.
You can also leave the cluster capacity as it is, since you should delete this newly created installer cluster as soon as your new management production-ready cluster will be created, but for the sake of saving some money, feel free to lower down the resources to the minimum shown to you in the initial popup, two steps before.
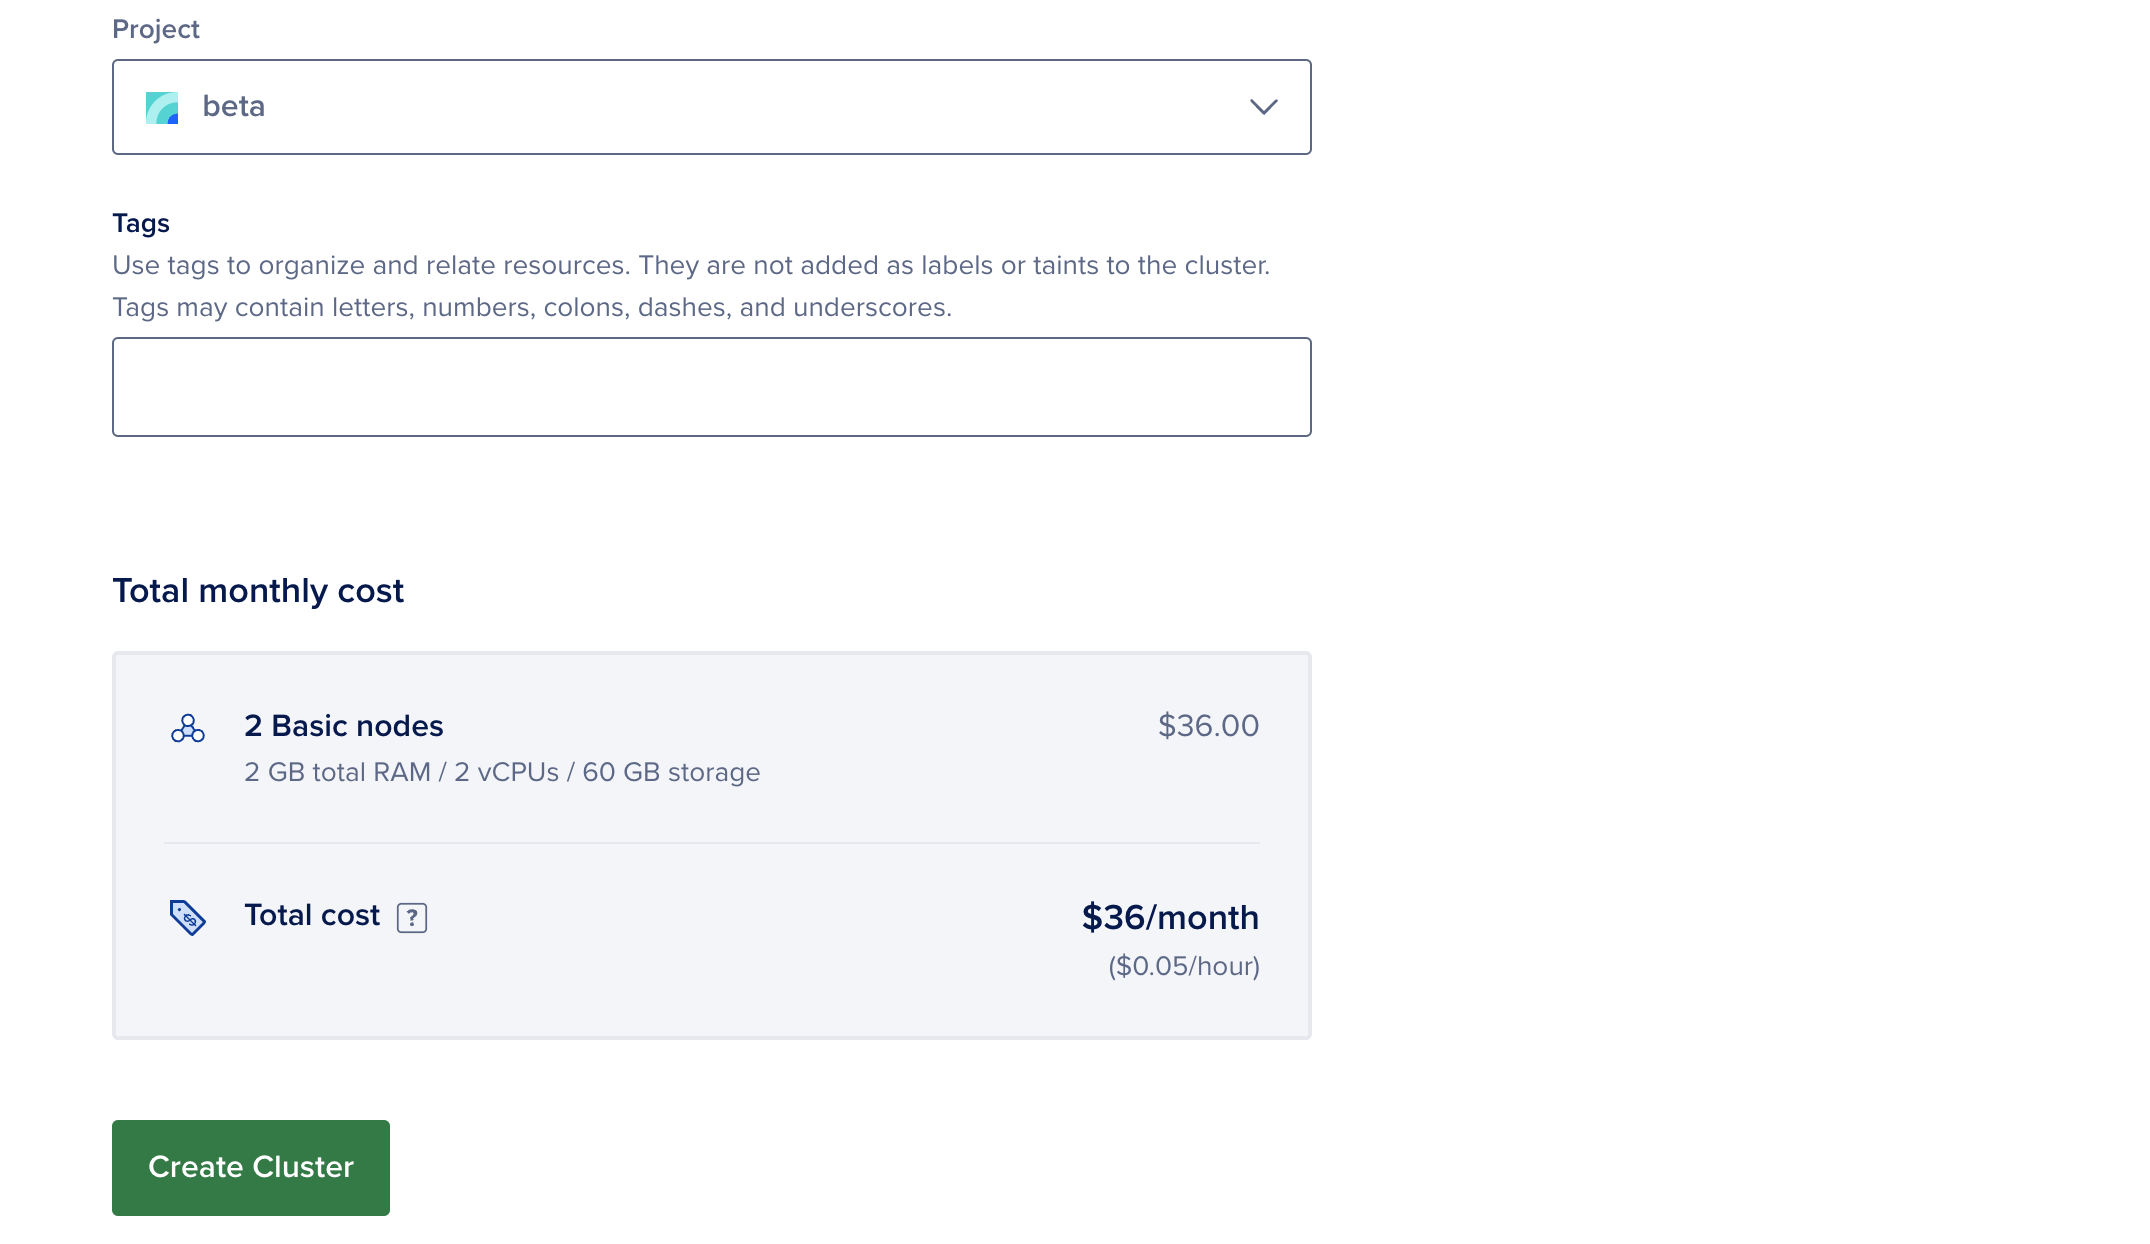
If you go down a little on the same page, you can now select additional options, which I suggest you leave like this because of the ephemeral state of the installer. You can keep the name as is, or to make it easier to find it again in the future, let’s rename this cluster installer.
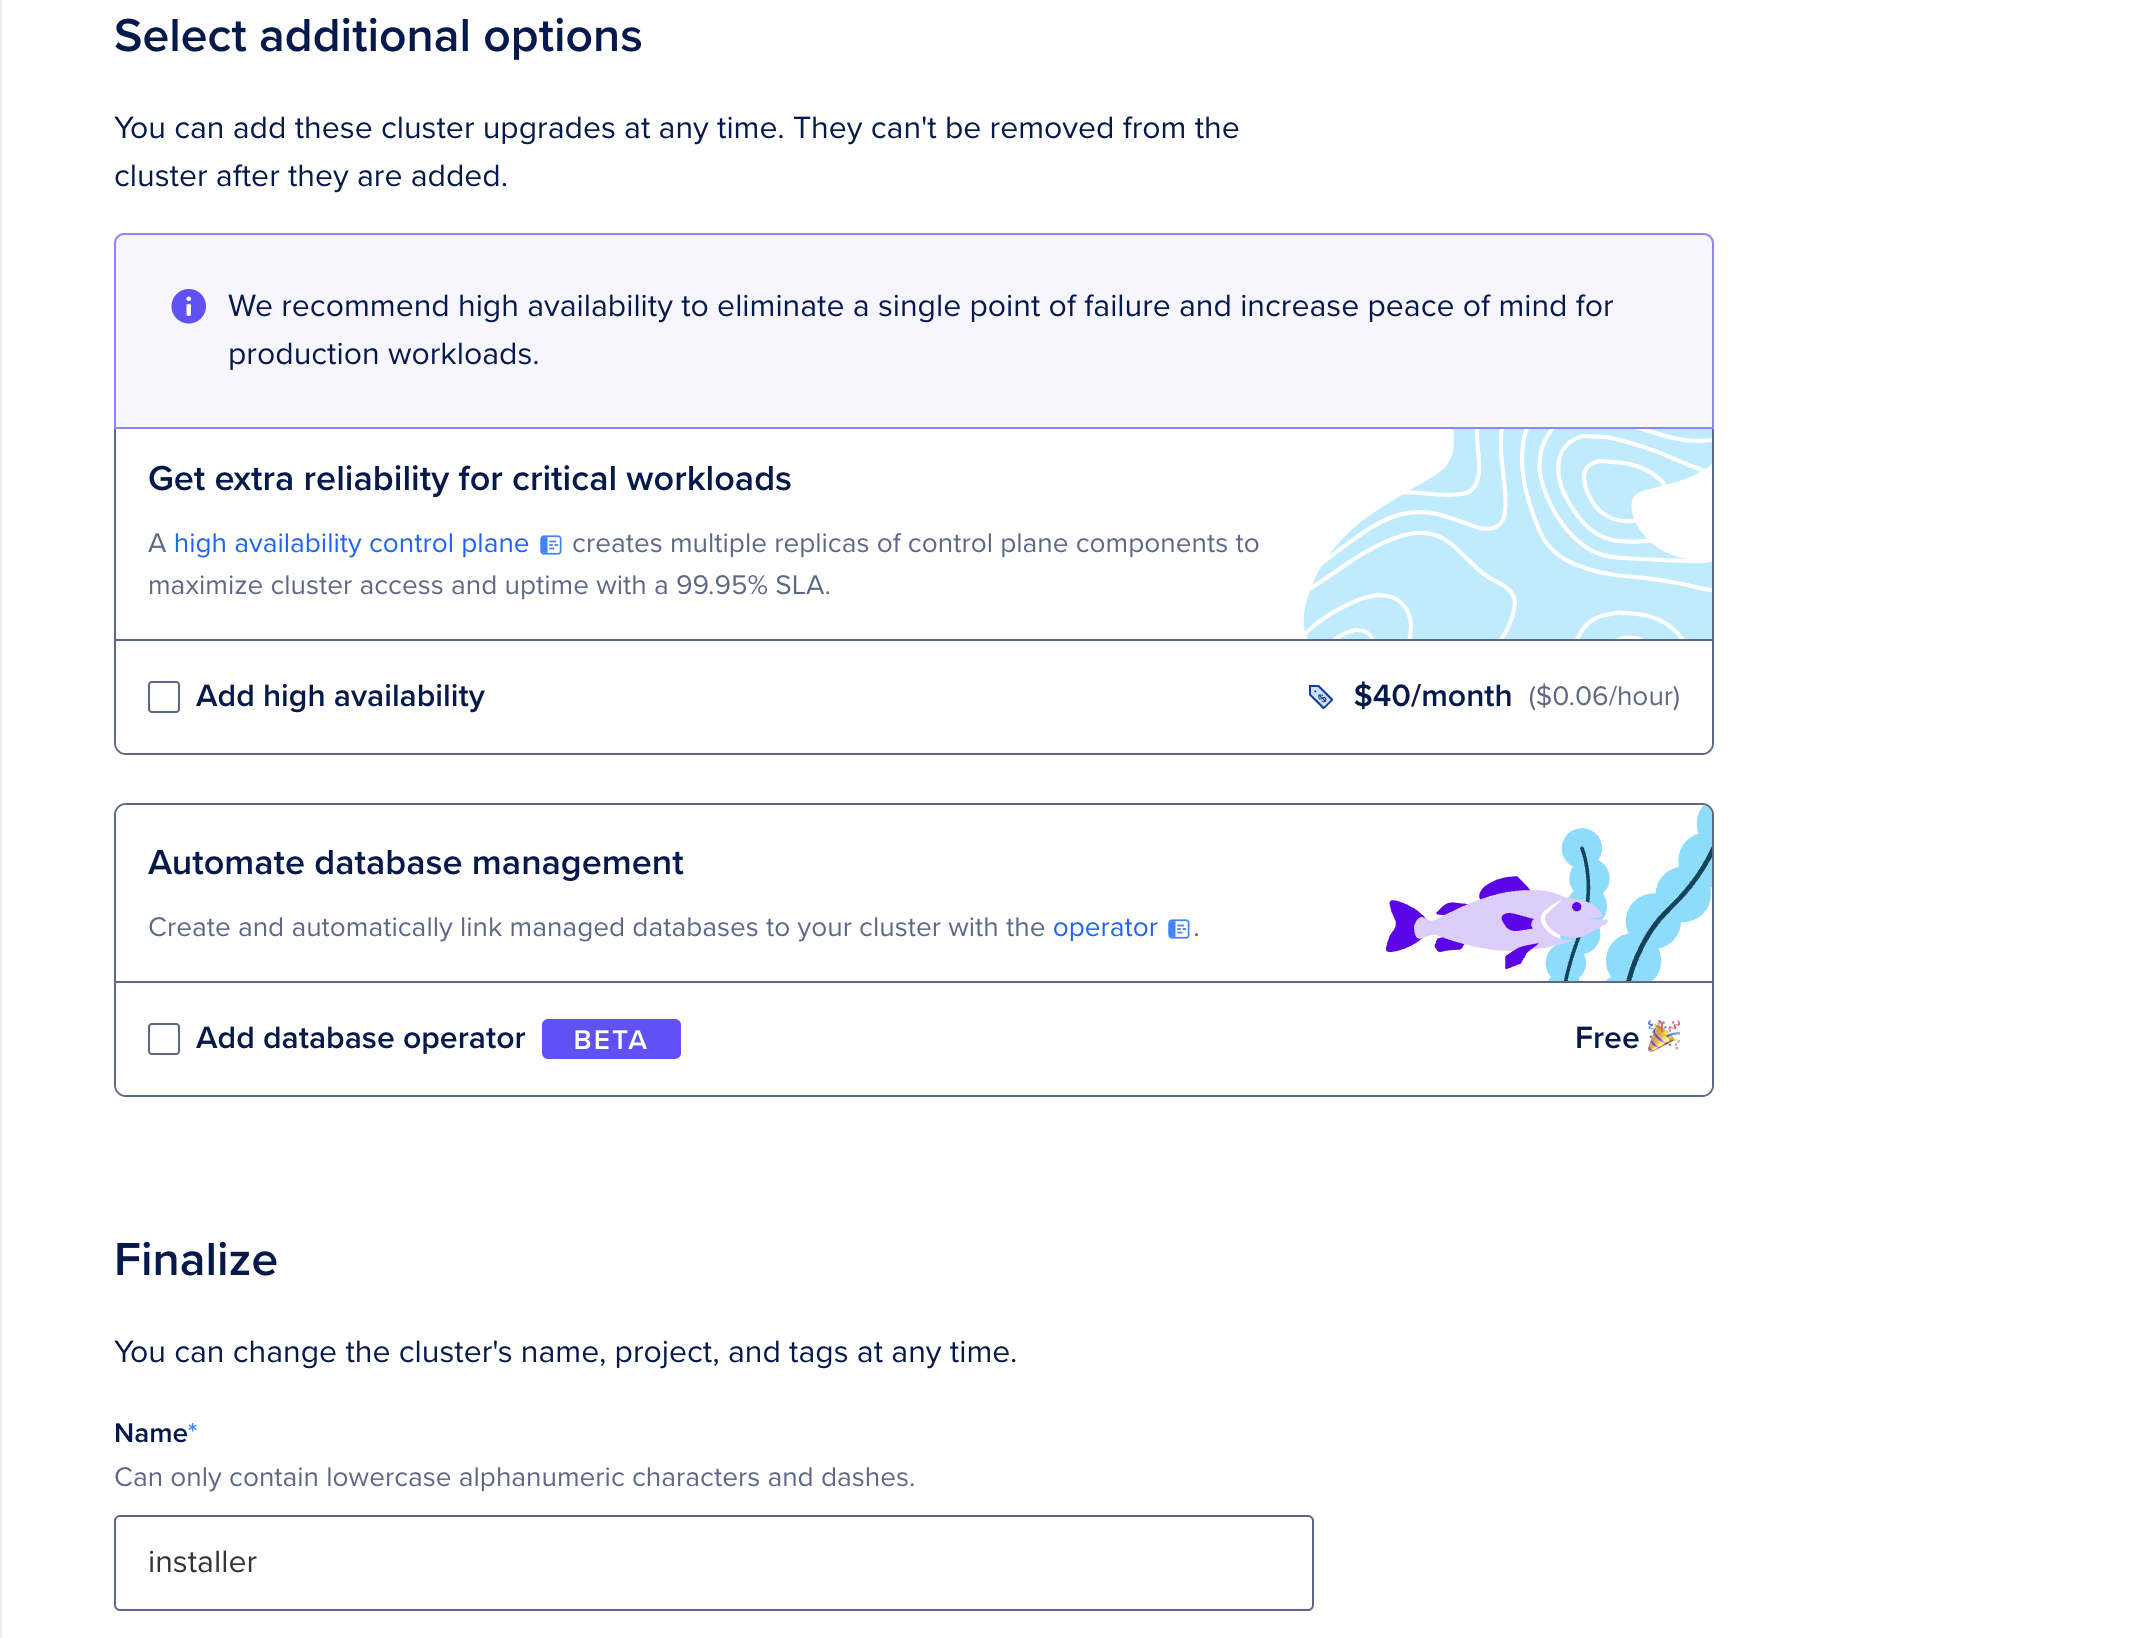
Lastly, feel free to select which DigitalOcean projects you will create the installer cluster, or add any tags for easier management: it won’t impact kubefirst at all. Once you are ready, press “Create Cluster”.
Give some time to DigitalOcean to create the new installer cluster, and to the kubefirst installer to be installed. Once you see the following screen (see screenshot below) with the kubefirst installed version done, you will be able to access the installer.
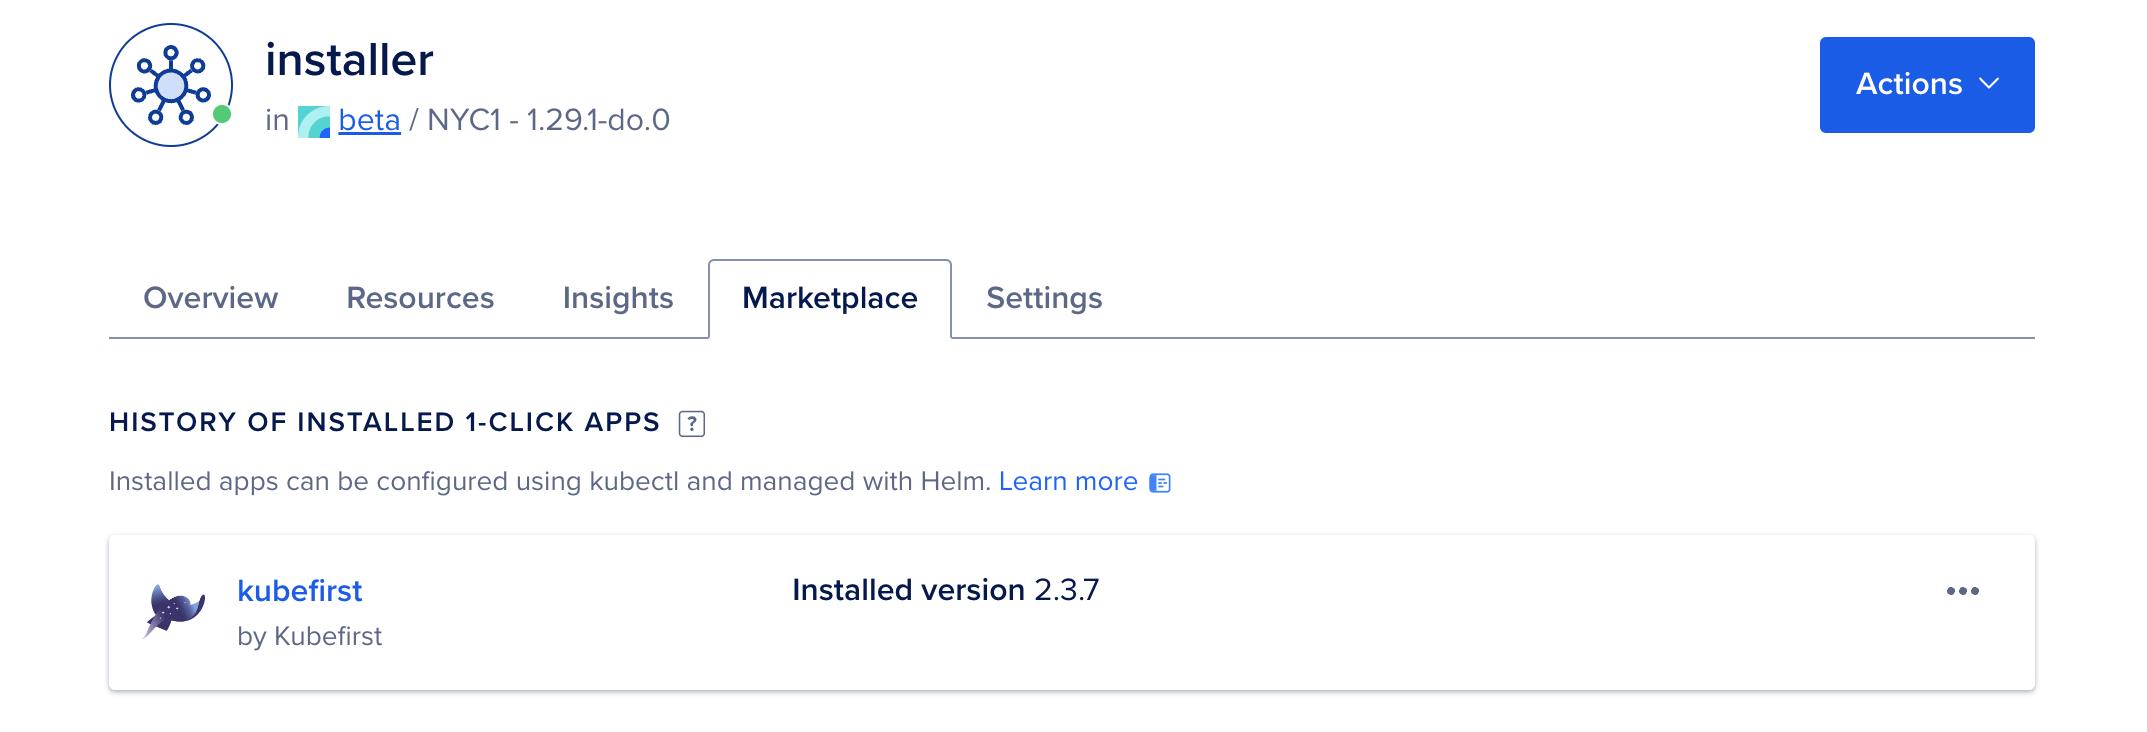
To do so, you need to download the KUBECONFIG of the installer. You can use the “Actions” menu on the DigitalOcean cluster page and select “Download Config” and use it with `kubectl`. You can do it also with the Civo CLI with the following command:
doctl kubernetes cluster kubeconfig save installerOnce your terminal context is set to the installer, you need to forward the console pod port locally so you can access it. One swift command will do the trick:
kubectl --namespace kubefirst port-forward svc/kubefirst-console 8080:8080You can now access the kubefirst installer at https://localhost:8080. From that screen, follow the installer instructions to configure and decide on your future full-fledged production-ready Kubernetes management cluster.
What’s next
The management cluster creation will take about 35 minutes, but you’ll end up with a Kubernetes cluster for easily managing physical and virtual workload clusters integrated with a new GitOps repository, which becomes your source of truth. In the end, you will have popular tools like Argo CD, Argo Workflows, HashiCorp Terraform, HashiCorp Vault, and more, all configured, and working together.
As always, we are open to receive any feedback you have about your experience. The best place to do so or ask questions, if any occurs, is on our Slack community. We are looking forward to discussing about kubefirst, and the cloud native space with you. Happy DigitalOcean + kubefirst time!